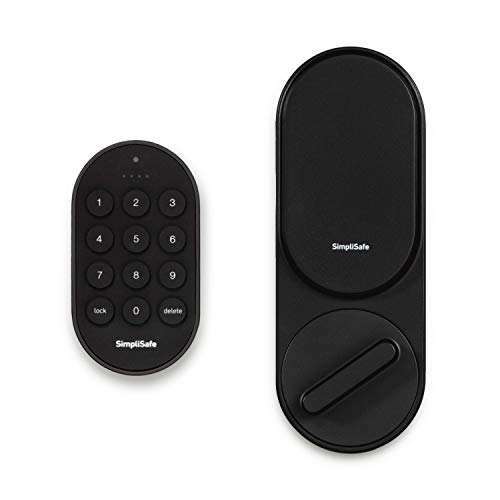
SimpliSafe is fast becoming one of the planet’s most well-known and top-rated security and smart lock systems. It is known for its simplicity and manufacturing quality. Still, SimpliSafe is less popular for excellent customer support, and many users complain about holding the line for hours. So, what can you do to calibrate your SimpliSafe smart lock yourself? Here’s the guide!
The SimpliSafe smart lock requires calibration to see how far the lock should turn both ways to lock and unlock the door properly. The process is easy. You can activate it from the keypad included with the SimpliSafe hub by going to Menu, Devices, selecting the lock, and choosing “Calibrate.”
You may have to calibrate your SimpliSafe smart lock from time to time, and many users claim that they experience occasional problems if they don’t do this once in a while. But let’s look at why you may have to calibrate the smart lock and how you can do so safely and quickly.
Why Do I Need To Calibrate My SimpliSafe Smart Lock?
To understand why you may have to calibrate your smart lock and how to do it, you first must understand what calibration is.
Some smart locks, like the SimpliSafe, simply fit over the inside of your existing deadbolt lock. So, to fit it, you remove your old lock’s cover and replace it with the SimpliSafe smart lock. The smart lock then turns the lock mechanism to lock or unlock the door.
That’s where the complication, and reason for calibration, come in. There are countless numbers of different lock mechanisms and bolt sizes, and the position on the door where the lock is located adds one more variable. So, the SimpliSafe smart lock must calculate where the “locked” and “unlocked” positions are and store this information for accurate locking and unlocking.
Calibration is this process where your smart lock runs through tests to see how far it must turn to switch between the “locked” and “unlocked” position. You will have trouble locking or unlocking your door if you don’t run calibration.
There are a few situations when you may have to calibrate your SimpliSafe smart lock.
1. When You First Install The Lock
It should be pretty apparent that the smart lock will have to calibrate after you’ve installed it. Since the lock has never been set up, it will have to determine where the locked and unlocked positions are and how many degrees it must turn to achieve each.
After you’ve installed the lock and linked it with the SimpliSafe hub using the keypad, when you decide to test the lock by locking or unlocking it, the keypad will prompt you with a notification that it needs to calibrate the lock. You can then follow the below steps to run the calibration process.
2. When You Replace The Lock
As with the first lock installation, if a problem occurs and you must replace the SimpliSafe smart lock, the system will notify you again that you need to calibrate the new lock.
3. If You Replace The Hub
Smart homes and smart security systems are highly technical things that rely on a perfect balance between electronics, mechanical parts, and the software that makes it all work. With so many potential points of failure, it’s not impossible for the hub to fail and need replacing, even though this does not happen often.
When you replace your hub, you will have to add each of your SimpliSafe security devices to the new hub, including smart locks.
Since most of your settings are stored on the SimpliSafe hub or tower, your smart locks’ calibration settings are also kept there, so you will have to run through the calibration process again. Luckily the hub’s software is programmed to make provision for this, so it should prompt you to do so once you’ve added your smart lock as one of the hub’s devices.
4. After A Mechanical Malfunction
The interactions between mechanical and electronic devices are flimsy at best, and regardless of how well a product is manufactured, you may run into problems. This includes calibration issues.
Have you ever noticed how some traditional locks seem to run into trouble when you use them the wrong way? A notable example is the kind of lock that people often use in security gates. The lock is made in such a way that you must turn the key twice to lock it completely.
But when you turn the key only once and then take it out, the lock gets stuck somewhere between locked and unlocked, and getting the key back in to fix it can be difficult. The same happens when you don’t line the lock up perfectly when you lock it, forcing the bolt into a solid door frame or wall and jamming the lock into place.
The same thing could happen with a smart lock. For example, if you didn’t close the door properly before locking your SimpliSafe smart lock, the lock will turn, but the bolt will push into the door frame, not locking it at all. Yet the lock registers it as locked, changing the correct locked and unlocked positions.
In this case, if there was no other damage to the lock mechanisms, you will have to rerun the SimpliSafe calibration process to fix this miscalculation.
5. After Updates Or Software Errors
The SimpliSafe hub’s firmware gets updated regularly to fix bugs and improve the system’s security and stability. These updates are crucial, and you should not ignore them.
Unfortunately, two things could happen either before, during, or after the update process:
- Software glitches could cause your stored calibration data (and other settings) to be corrupted or deleted. This requires you to enter your settings again, including your smart locks’ calibration settings.
- The update itself could fix a calibration bug present in a previous software version. In this case, your hub will reset your calibration data on purpose and require you to calibrate your smart locks again.
How To Calibrate Your SimpliSafe Smart Lock?
Calibration is not a complex process; if you follow these simple steps correctly, you should have no problem pulling it off.
- Complete the installation of the lock. Unfortunately, you can’t calibrate the lock before you’ve installed it.
- Close the door properly. This is crucial to avoid the mechanical problems we’ve mentioned before. Ensure that your deadbolt can slip into the correct locked position easily; adjust the lock’s installation position, if necessary, since this will save you countless hours of problems and troubleshooting in the future.
- Check that your lock’s battery is still good. You can test this by opening the top cover and pressing the test button. You should see blinking lights. If only the light in the middle is blinking slowly, it means that your battery is running low, and you should replace it.
- Now bring the main SimpliSafe keypad close to the lock. This is the one with the menu options and LCD screen, not the smaller one that only has the keys, which you are supposed to attach outside the door. You want the main control keypad that you used to link the smart lock with the hub.
- On the keypad, go to Menu, then Devices.
- You should see your smart lock listed under the devices (assuming you already linked it to the hub). Select the correct smart lock from the list.
- Now tap on the Recalibrate option.
- The lock will go through some motions, then prompt you to close the door. Since your door should already be closed, this simply means that you should lock it. You can do so by manually turning the knob on the smart lock to the locked position.
- After you’ve locked the door, tap on the “Done” button.
- The lock will move three times to calibrate the different locked and unlocked positions and determine the extreme positions of the lock on both sides.
- Once the calibration is complete, you will get a prompt to check if the door is unlocked.
- Try to open the door. If it is unlocked, choose “Yes.” If not, choose “No,” and the process will repeat again.
- Once it’s correctly calibrated and your door is unlocked when it should be, you can tap on “Yes,” and you will see the “Congratulations” message on the screen. It indicates that calibration has been completed successfully. You can now select “OK” to exit the calibration, then test the smart lock by locking and unlocking the door from your keypad.
What Should you Do If You Can’t Calibrate The Smart Lock?
Sometimes problems happen. No matter how well a product is manufactured, errors may slip in from time to time. These errors could cause your smart lock to be unable to calibrate correctly. If you’re having trouble with calibration, make your life easier by checking the following things:
1. Check The Batteries
As mentioned in the steps above, low batteries could cause problems with the lock’s movement, which the system may detect as enough resistance to set incorrect locked and unlocked positions. That means your calibration will complete “successfully,” but your door won’t be fully locked or unlocked when it should be.
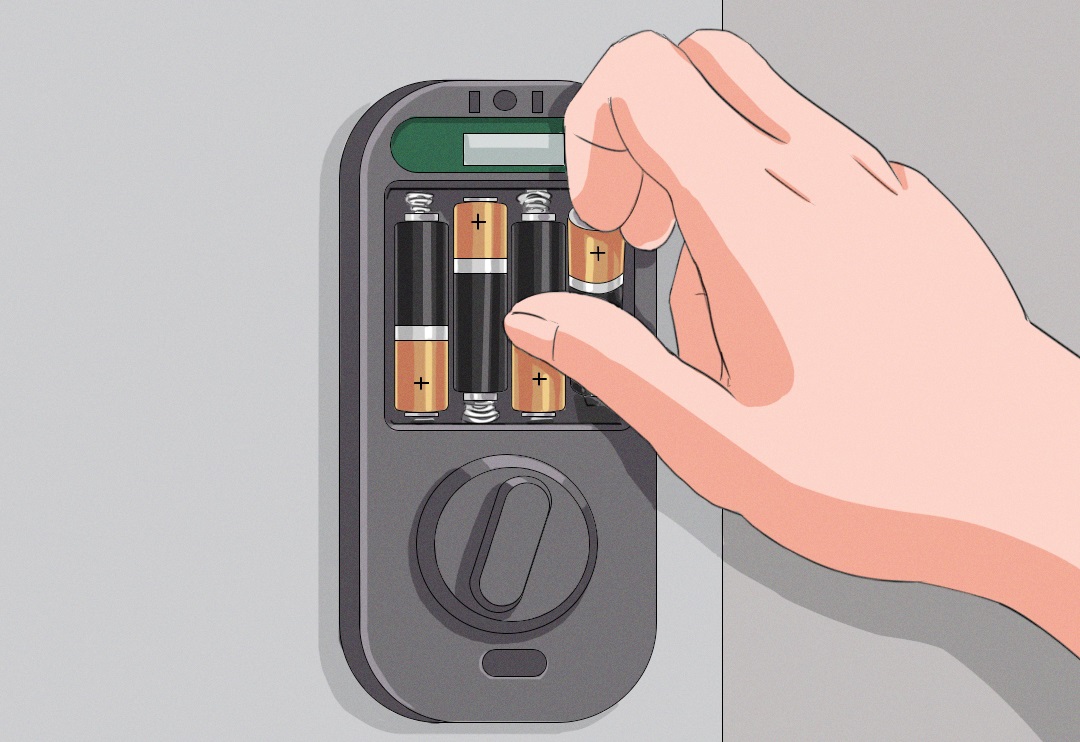
If this is the case, test your smart lock’s battery strength by opening the front cover and pressing the Test button. If you only see the center light blinking slowly, your smart lock’s battery is running low, and you should replace it immediately. Then you can try calibrating it again.
2. Are You Holding The Keypad Close To The Smart Lock?
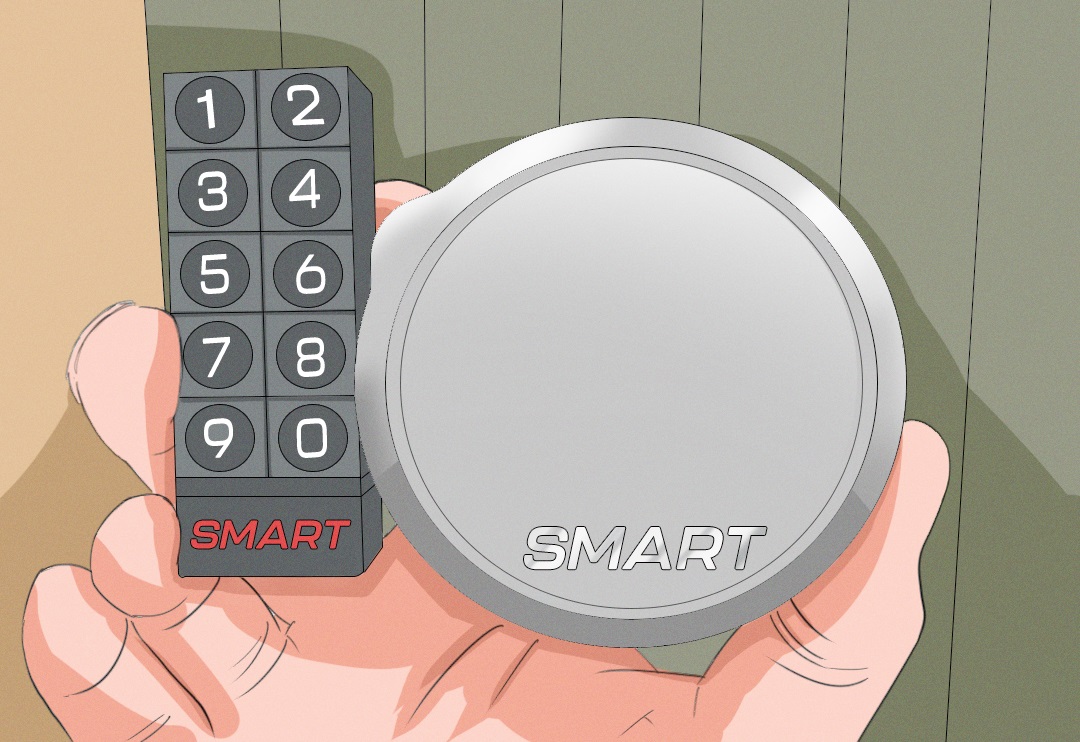
For calibration to work correctly, the main keypad must be near the lock, no more than a few feet away. For best results, hold the keypad right next to the lock while running calibration since the keypad forms the bridge between the smart lock and the hub, allowing them to communicate effectively.
3. Did You Check That The Lock Isn’t Obstructed?
The calibration process relies on the lock being unobstructed and able to lock entirely with as little pressure or resistance as possible. If your old lock had to be forced to lock or unlock, your smart lock would have the same problems (remember that you are still using the old lock’s deadbolt mechanism).
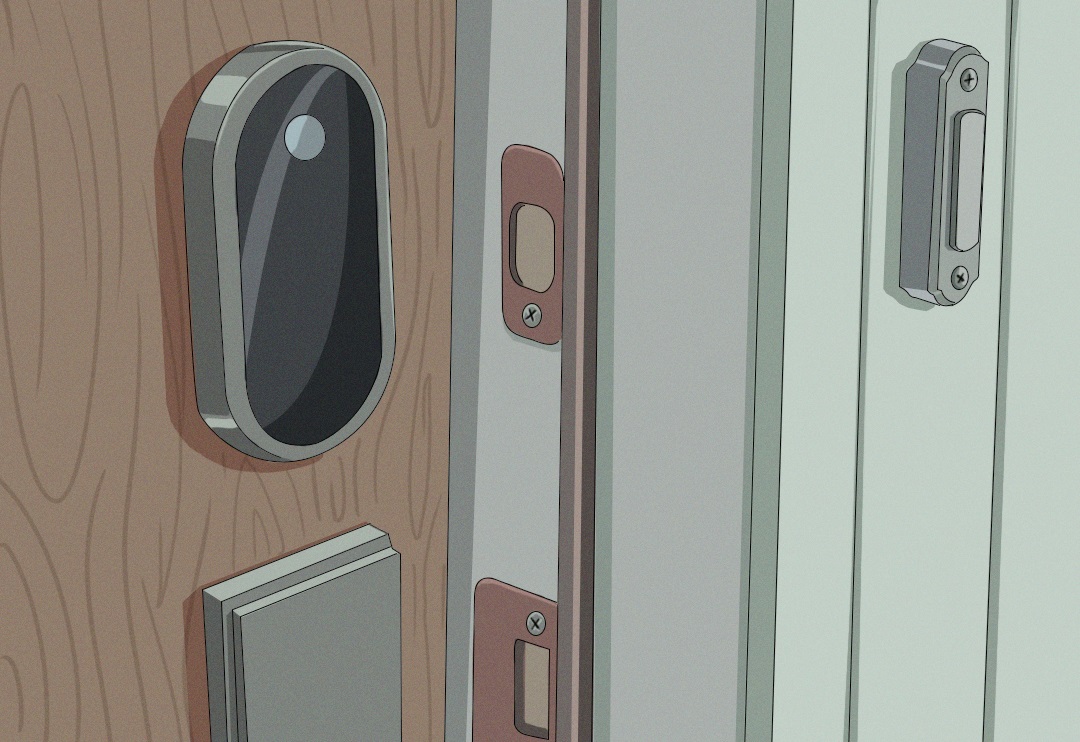
So, if there is resistance inside the lock that’s keeping it from adequately locking or unlocking, you may have trouble calibrating the smart lock. This could be due to problems inside the lock itself or an incorrectly aligned latch bore. You can attempt the following to fix it:
- Widen the latch bore. Depending on the type of wall or doorframe that the latch bore is in, you might be able to widen it with a drill or sharp object. The important thing is that you must make the hole a bit bigger to create as little resistance as possible.
- Oil the lock. The resistance may be caused by problems in the lock mechanism, like dirt or rust. Spraying some WD40 into the lock mechanism might clear this out enough to lower the resistance and adequately calibrate your smart lock.
- Replace the mechanism. If the lock is old and causing problems due to wear and tear, it might be time to replace the deadbolt mechanism.
4. Did You Replace The Hub?
When you replace the hub, your smart locks must be reset before they can be paired to the new hub. You can do so by opening the front cover and looking for the Pairing button just above the batteries. Press this button down and hold it for 16 seconds. You should see all of the lights flashing simultaneously. Now release the button.
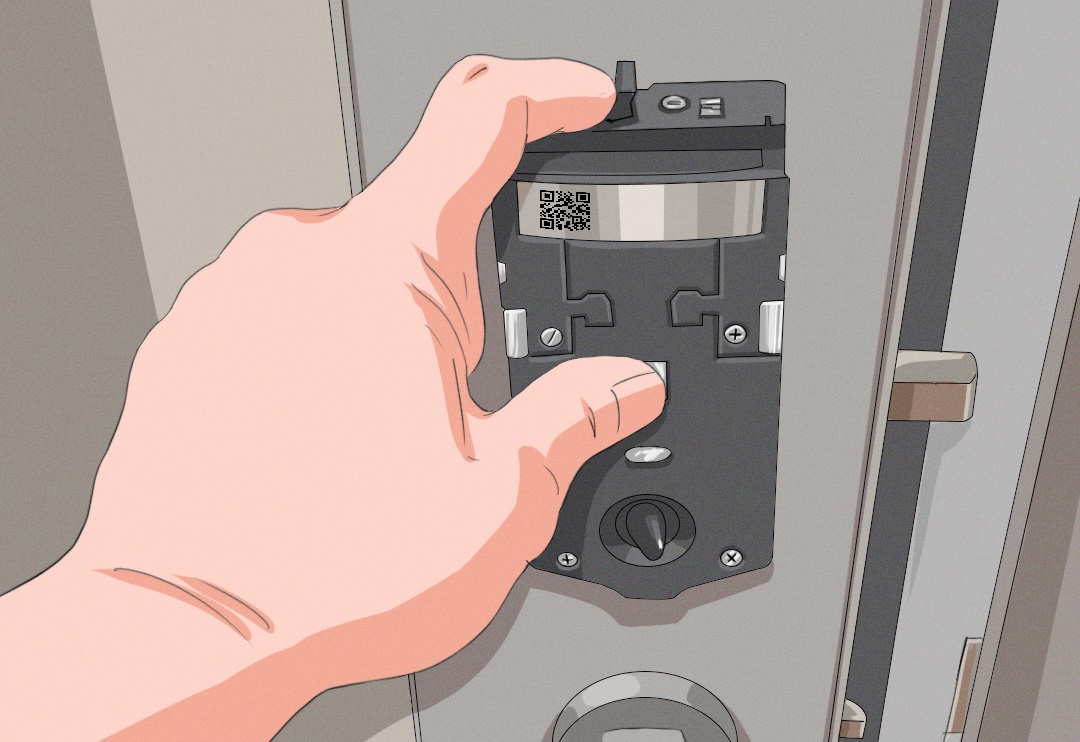
The smart lock will restart. After it finishes, your smart lock will be unlinked from your old hub and be ready to pair and calibrate with the new hub.
5. Do You Have The Latest Software?
If you get any errors, whether related to calibration or otherwise, it’s always a great idea to check for software updates since these updates often fix bugs and issues that the manufacturers detected.
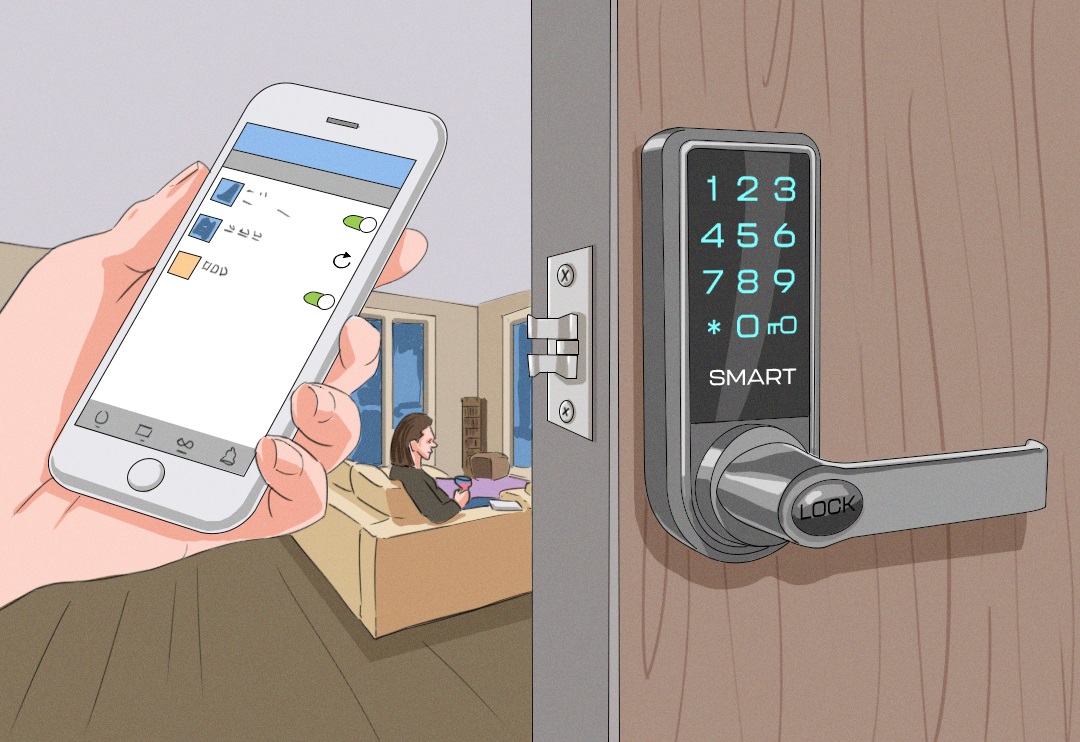
Ensure that the hub is connected to your Wi-Fi to get the latest updates. If it is, you might eventually see a gear icon on the keypad, indicating that there’s a software update available. You can click this icon and follow the prompts to update your hub’s software.
After you’ve completed this update, you can also check if there’s a firmware update available for the hub itself. Do this by opening the SimpliSafe mobile app and bringing your phone close to the lock (a few feet away).
The mobile app should tell you if there’s a firmware update available for the smart lock. If a new SimpliSafe update is available, follow the prompts to install the latest firmware to your lock.
Before installing any firmware or software, it’s crucial to ensure that your devices have enough battery power not to be interrupted during the update process. These interruptions could cause your devices to be “bricked,” meaning that you will have to return them to SimpliSafe to repair or replace them.
Conclusion
Calibrating your SimpliSafe smart lock is a simple process; or rather, it should be. SimpliSafe developed the system to be easy to install and configure. Unfortunately, problems can sometimes slip in, but most often, these complications can be easily avoided or fixed. You now know all the things you need to know to be able to calibrate your fantastic SimpliSafe smart lock system.
Sources:
Unable to calibrate the smart lock with the replacement base station running firmware 2.3.10 | SimpliSafe Help Center
How do I change my Smart Lock's settings? | SimpliSafe Help Center
SimpliSafe Smart Lock - Answering Your Frequently Asked Questions
